Radicale
Descrizione
Radicale è un piccolo ma potente server CalDAV (calendari, elenchi di cose da fare) e CardDAV (contatti), che:
- Condivide calendari ed elenchi di contatti tramite CalDAV, CardDAV e HTTP.
- Supporta eventi, todos, voci del diario e biglietti da visita.
- Funziona subito, senza bisogno di complicate impostazioni o configurazioni.
- Può limitare l'accesso tramite autenticazione.
- Può proteggere le connessioni con TLS.
- Funziona con molti client CalDAV e CardDAV.
- Memorizza tutti i dati sul file system in una semplice struttura di cartelle.
- Può essere esteso con plugin.
- È un software libero con licenza GPLv3.
Requisiti/Installazione
Innanzitutto, assicurarsi che python 3.5 o successivo (si consiglia python ≥ 3.6) sia installato.
Sarà poi necessario un web server come Apache o nginx; in questa guida verrà usato nginx e verranno installati pacchetti presenti in Debian, anziché usare "pip".
Documentazione Ufficiale
Installazione
# apt install radicale apache2-utils python3-passlib
Configurazione
# nano /etc/radicale/config
Cambiare le linee seguenti:
 [server]
 hosts = 127.0.0.1:5232

 [auth]
 type = http_x_remote_user

 [rights]
 type = owner_only
 file = /etc/radicale/rights

 [storage]
 type = multifilesystem_nolock

 [logging]
 level = info
 mask_passwords = True

 [headers]
 Access-Control-Allow-Origin = *
Ora possiamo avviare il servizio:
# systemctl start radicale.service
# systemctl status radicale.service
Per leggere i log, digitare:
# journalctl -xe -u radicale.service
Quando avremo sistemato tutto e Radicale funzionerà correttamente, potremo abilitare il servizio al boot:
# systemctl enable radicale.service
Reverse proxy
Esempio di configurazione di nginx:
server {
    listen 443 ssl http2;
    server_name cal.woodpeckersnest.space;

    ssl_certificate /etc/letsencrypt/live/cal.woodpeckersnest.space/fullchain.pem;
    ssl_certificate_key /etc/letsencrypt/live/cal.woodpeckersnest.space/privkey.pem;

        error_log /var/log/nginx/radicale.err;
        access_log /var/log/nginx/radicale.log;

        add_header "X-XSS-Protection" "0";

    location / {
        return 301  /radicale/;
    }

    location /radicale/ { # The trailing / is important!
        proxy_pass        http://localhost:5232/; # The / is important!
        proxy_set_header  X-Script-Name /radicale;
        proxy_set_header  X-Forwarded-For $proxy_add_x_forwarded_for;
        proxy_set_header  X-Remote-User $remote_user;
        proxy_set_header  Host $http_host;
        proxy_pass_header Authorization;
        auth_basic        "Radicale - Password Required";
        auth_basic_user_file /etc/nginx/radicale-users;
        }
}

server {
    listen 0.0.0.0:80;
    server_name cal.woodpeckersnest.space;

    location / {
        return 301  /radicale/;
    }

    location /radicale/ {
        return 301 https://$host$request_uri;
    }
}
la riga che recita:
auth_basic_user_file /etc/nginx/radicale-users;
ci indica che dovremmo creare il file a quel percorso con le credenziali degli utenti che vorranno usare il servizio.
Il comando per fare ciò è "htpasswd"
$ htpasswd -c /etc/nginx/radicale-users <nome_utente>
Una volta battuto enter vi verrà chiesta la password per l'utente <nome_utente> che avrete scelto ed il tutto verrà salvato nel file "/etc/nginx/radicale-users".
Riavviate nginx per terminare.
Come potete vedere dal file di configurazione nginx, avrete bisogno di un sottodominio DNS e del relativo certificato (tutto ciò non è scopo di questa guida).
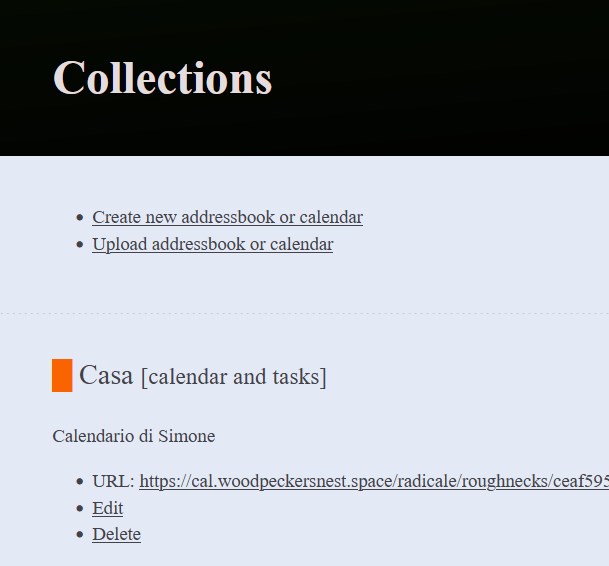
Abbiamo terminato: connettetevi al vostro sottodominio e dovreste poter accedere alla pagina di login di Radicale.
Seguendo il file di configurazione nginx, per il mio caso il link sarà il seguente:
https://cal.woodpeckersnest.space/


