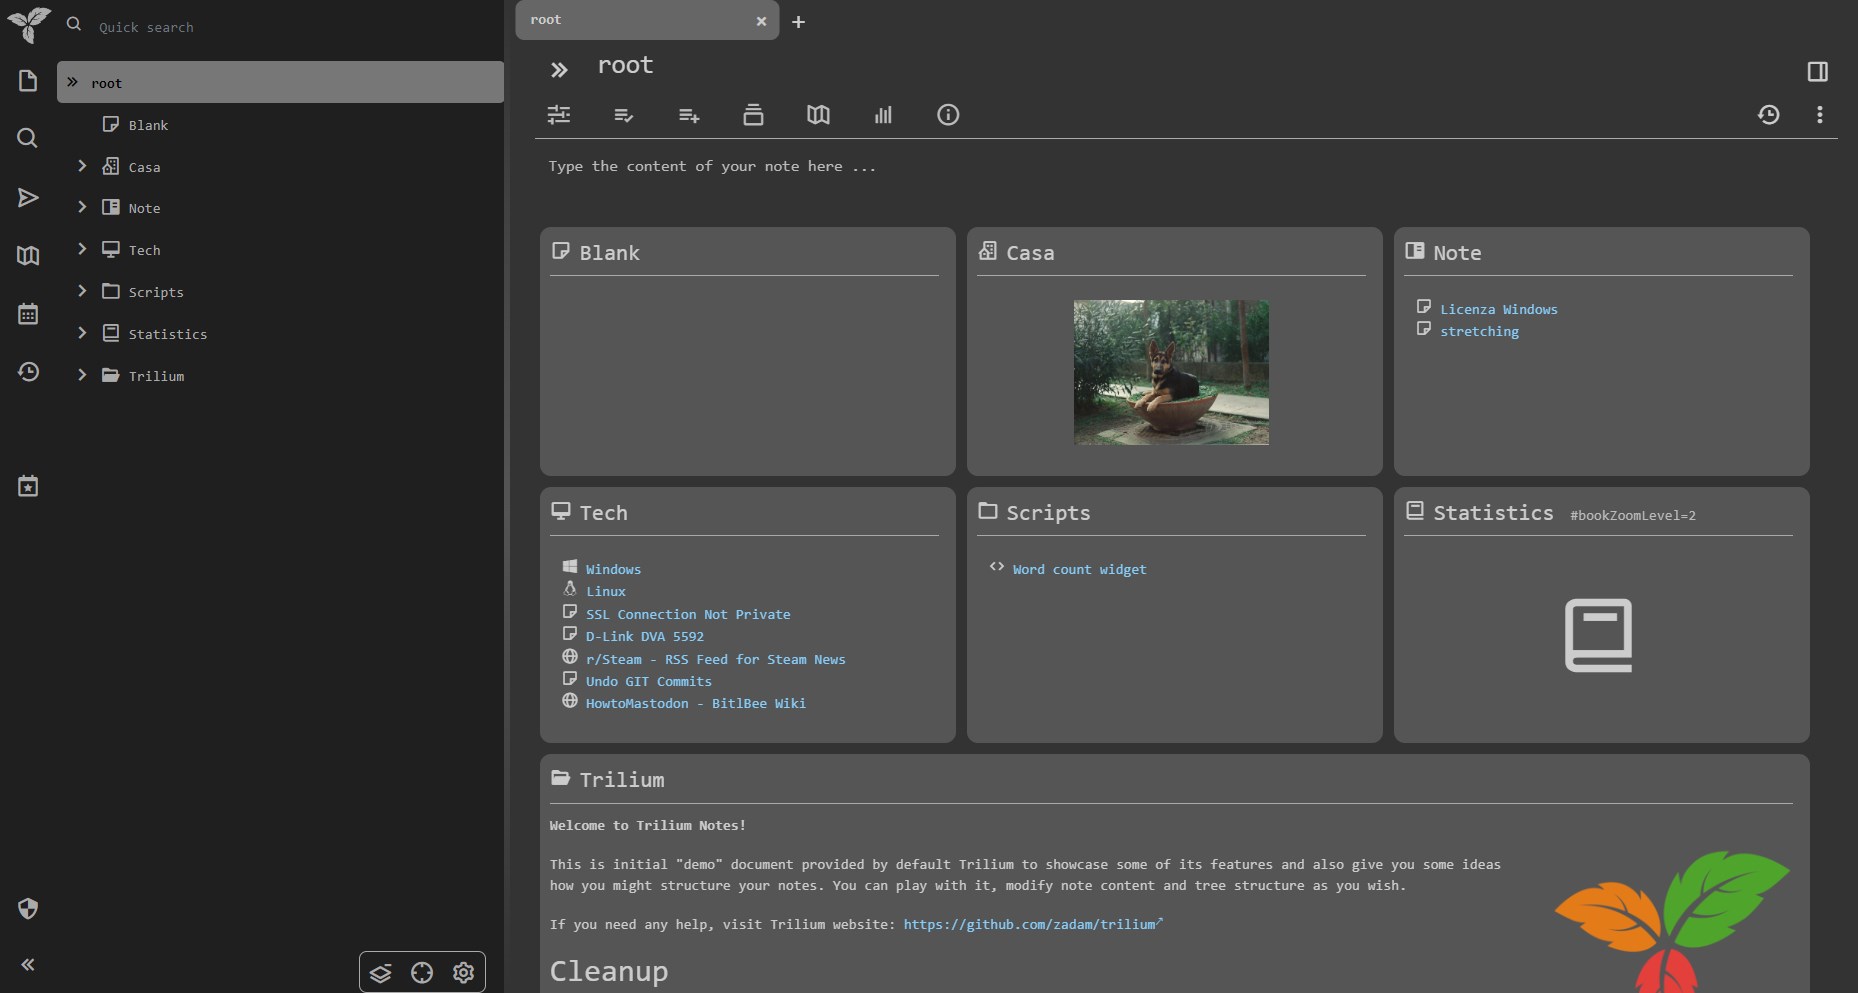
I'm super impressed by Trilium Notes, a wonderful note-taking app and self-hostable service.
Used docker to host it and web to manage my notes. It saves instantly, no button to press, has a lot of useful functions, it's scriptable, does backups automatically and it offers extensions for chrome and firefox.
Two issue though:
- chrome extension will become unsupported later on in 2024, because it uses manifest v2
- developers just posted a couple days ago about putting the project into maintenance mode :(
Although this is kinda sad, I have used the app for the past 2 days and it works very well, so much that I finally ditched MS One Note (yes I use Windows on my Desktop - shame! shame! shame!)
Found this post quite useful to set up Hurricane Electric's IPv6 on a Windows machine and serve the connection over LAN (Windows machine must stay on, obviously)
Legend of variables:
$ipv4a   = tunnel server's IPv4 IP
$ipv4b   = user's IPv4 IP
$ipv6a   = tunnel server's side of point-to-point /64 allocation
$ipv6b   = user's side of point-to-point /64 allocation
$ipv6c   = first address of user's routed /64 allocation
$ipv6d   = user's routed /64 allocation
$adapter = name of local area network connection (where your IPv4 address is configured now)

netsh int teredo set state disabled
netsh int ipv6 add v6v4tunnel IP6Tunnel $ipv4b $ipv4a
netsh int ipv6 add address IP6Tunnel $ipv6b

netsh int ipv6 set interface IP6Tunnel forwarding=enabled
netsh int ipv6 set interface "$adapter" forwarding=enabled advertise=enabled
netsh int ipv6 add address "$adapter" $ipv6c
netsh int ipv6 set route $ipv6d "$adapter" publish=yes
netsh int ipv6 add route ::/0 IP6Tunnel $ipv6c publish=yes

Set up Thunderbird autoconfiguration for my lil mail server. Working good.
nginx config:
server {
        listen [::]:443 ssl http2;
        server_name woodpeckersnest.eu;

        ssl_certificate /etc/letsencrypt/live/woodpeckersnest.eu/fullchain.pem;
        ssl_certificate_key /etc/letsencrypt/live/woodpeckersnest.eu/privkey.pem;

        root /var/www/mail/;
        location / {
                try_files /.well-known/autoconfig/mail/config-v1.1.xml =404;
        }

    access_log /var/log/nginx/autoconfig.log;
    error_log /var/log/nginx/autoconfig_error.log;
}
config-v1.1.xml
<?xml version="1.0"?>
<clientConfig version="1.1">
    <emailProvider id="woodpeckersnest.eu">
      <domain>woodpeckersnest.eu</domain>

      <displayName>Woodpeckers Mail</displayName>
      <displayShortName>woodpeckers</displayShortName>

      <!-- type=
           "imap": IMAP
           "pop3": POP3
           -->

      <incomingServer type="imap">
         <hostname>woodpeckersnest.eu</hostname>
         <port>993</port>
           <!-- "plain": no encryption
                "SSL": SSL 3 or TLS 1 on SSL-specific port
                "STARTTLS": on normal plain port and mandatory upgrade to TLS via STARTTLS
                -->
         <socketType>SSL</socketType>
         <username>%EMAILLOCALPART%</username>
            <!-- Authentication methods:
                 "password-cleartext",
                          Send password in the clear
                          (dangerous, if SSL isn't used either).
                          AUTH PLAIN, LOGIN or protocol-native login.
                 "password-encrypted",
                           A secure encrypted password mechanism.
                           Can be CRAM-MD5 or DIGEST-MD5. Not NTLM.
                 "NTLM":
                           Use NTLM (or NTLMv2 or successors),
                           the Windows login mechanism.
                 "GSSAPI":
                           Use Kerberos / GSSAPI,
                           a single-signon mechanism used for big sites.
                 "client-IP-address":
                           The server recognizes this user based on the IP address.
                           No authentication needed, the server will require no username nor password.
                 "TLS-client-cert":
                           On the SSL/TLS layer, the server requests a client certificate and the client sends one (possibly after letting the user select/confirm one), if available. (Not yet supported by Thunderbird)
                 "OAuth2":
                           OAuth2. Works only on specific hardcoded servers, please see below. Should be added only as second alternative.
                 "none":
                           No authentication
                 -->
         <authentication>password-cleartext</authentication>
      </incomingServer>


      <outgoingServer type="smtp">
         <hostname>woodpeckersnest.eu</hostname>
         <port>587</port>
         <socketType>STARTTLS</socketType> <!-- see <incomingServer> -->
         <username>%EMAILLOCALPART%</username> <!-- if smtp-auth -->
            <!-- smtp-auth (RFC 2554, 4954) or other auth mechanism.
                 For values, see incoming.
                 Additional options here:
                 "SMTP-after-POP":
                     authenticate to incoming mail server first
                     before contacting the smtp server.
                  Compatibility note: Thunderbird 3.0 accepts only "plain",
                  "secure", "none", and "smtp-after-pop".
                  It will ignore the whole XML file, if other values are given.
            -->
         <authentication>password-cleartext</authentication>
            <!-- If the server makes some additional requirements beyond
                 <authentication>.
                 "client-IP-address": The server is only reachable or works,
                     if the user is in a certain IP network, e.g.
                     the dialed into the ISP's network (DSL, cable, modem) or
                     connected to a company network.
                     Note: <authentication>client-IP-address</>
                     means that you may use the server without any auth.
                     <authentication>password-cleartext</> *and*
                     <restriction>client-IP-address</> means that you need to
                     be in the correct IP network *and* (should) authenticate.
                     Servers which do that are highly discouraged and
                     should be avoided, see {{bug|556267}}.
                Not yet implemented. Spec (element name?) up to change.
            -->
         <!-- remove the following and leave to client/user? -->
         <addThisServer>true</addThisServer>
         <useGlobalPreferredServer>true</useGlobalPreferredServer>
      </outgoingServer>

    </emailProvider>

    <!-- This allows to access the webmail service of the provider.
         The URLs are loaded into a standard webbrowser for the user.
         Specifying this is optional. -->
    <webMail>
      <!-- Webpage where the user has to log in manually by entering username
           and password himself.
           HTTPS required. -->
      <loginPage url="https://webmail.woodpeckersnest.space/" />

      <!-- Same as loginAutomaticDOM, but the website makes checks that
           the user comes from the login page. So, open the login page
           in the browser, get the page's DOM, fill out name and password
           fields for the user, and trigger the login button.
           The login button might not be an HTML button, just a div, so
           to trigger it, send a click event to it.
           HTTPS is required for the URL. -->
      <loginPageInfo url="https://webmail.woodpeckersnest.space">
        <!-- What to fill into the usernameField.
             Format is the same as for <username> within <incomingServer>,
             including placeholders. See below for valid placeholders. -->
        <username>%EMAILLOCALPART%</username>
      </loginPageInfo>
    </webMail>

    <clientConfigUpdate url="https://woodpeckersnest.eu/.well-known/autoconfig/mail/config-v1.1.xml" />

</clientConfig>
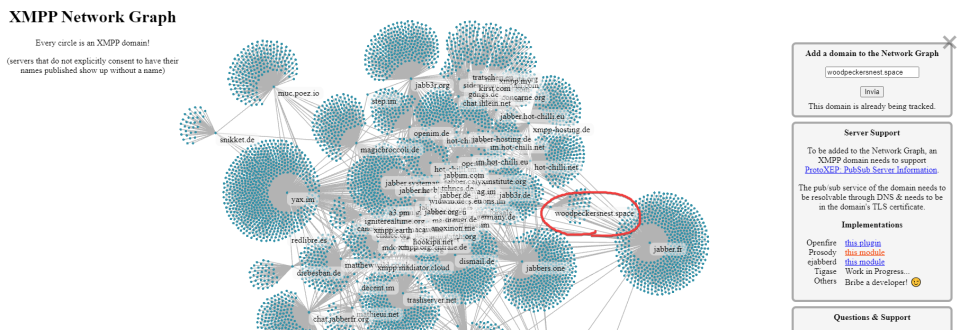
Interesting project, features' rich and almost complete. Thanks goes to its main developer Schimon AKA "sch".
Here is the support room
Not really that hard of a certification, but still.. Here we are 😀