Summer Recap at WPN
I'm always a bit busy when it comes to pandora (the VPS running WPN: woodpeckersnest.space/eu). I like experimenting new things, fixing/improving existing things.. I cannot stay still 😀
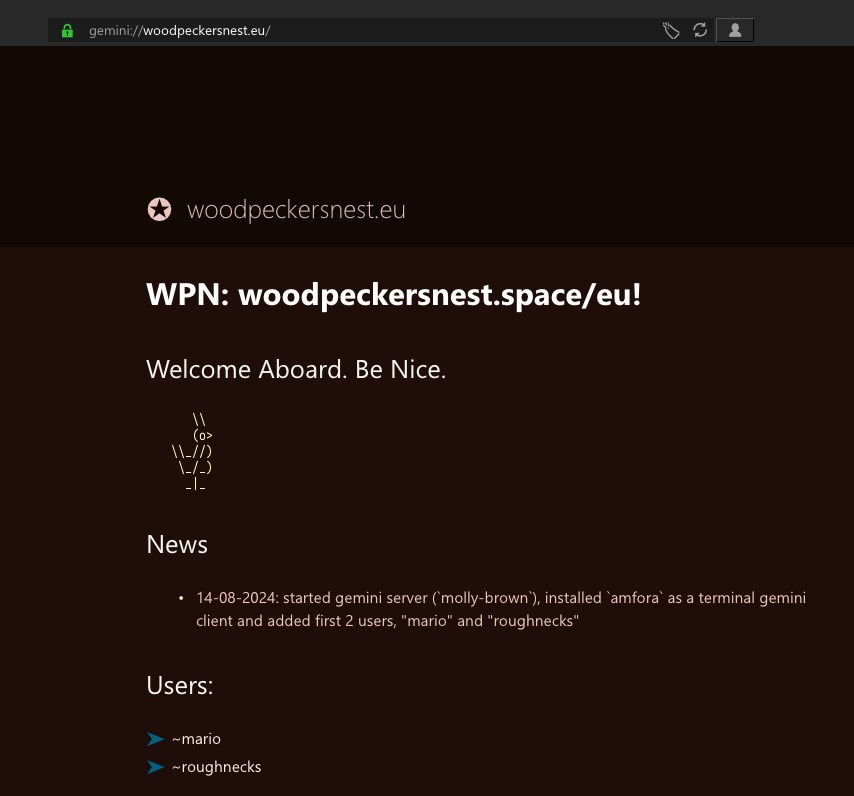
After migrating the homepage to homarr - which took really no time for the initial setup, but a lot of work afterward to fix layouts for mobile devices and non-full-hd screens for desktop PCs - I started messing up with a brand new toy: gemini!!
Not even a week since I installed molly-brown, the actual gemini server, to today, I can count lots of improvements..
- Installed terminal gemini browser client
amforafor wpn's shell users and alsogtl, a tinylog reader, always for the shell. - Configured a local tinylog which groups together all wpn's capsuleer tinylogs, so it's easy to follow all of the local server users in one single place; the log is generated by
gtlitself, refreshed and published every 5 minutes: can't miss a thing! - Initially configured
gemlog mentionsstarting from a script by @bacardi55, who is the author of many gemini-related things, like the before mentionedgtlsoftware. When I realized it lacked multi-capsules support, I started modifying it and came up with some spaghetti code, which is working surprisingly well and it was deployed earlier today.
Onboarding on WPN didn't go as well as I thought, but at least the first user (hey, Mario, I'm looking at you! :) registered and, I believe, everything is working fine for them! On this topic, the onboarding page was migrated from PHP and Email to Python and XMPP, thanks to my friend Schimon! He also kept the UI pretty much intact, so I think most people who looked at it before and after, wouldn't even notice the changes under the hood.
https://hello.woodpeckersnest.space/
Something else I've been doing was setting up: https://invite.woodpeckersnest.space/
which is a landing page to allow people to join an XMPP MUC or add an XMPP contact from a web interface, which will also guide them in choosing a client for their platform. It's rather simple but very useful at the same time.
The chatmail server was upgraded (more or less) at the beginning of August and running smoothly so far; it got some cool new improvements like automatic account deletion after #amount of days from last login and lots of fixes. Total number of registered accounts, so far, is 117.
https://chatmail.woodpeckersnest.space/
Services which I dismissed include:
Jitsi Meet(wasn't really using it and it was wasting quite a lot of resources just to be running)Issocomments service, which powered the old homepage contact section and also ashaarliinstance, which is still running but it's more a private thing, rather than a public one.
One more proposition: from now on, I will be publishing these (B)log posts in both protocols, HTTP here as you're reading and gemini on roughnecks' gemlog. I will be probably publishing less often than usual though, at least in this format, and send more status updates through the tinylog on WPN, the microlog at Station and my fediverse account.
In the next days I will be monitoring how everything goes and relax a bit, if I manage.. Today I didn't feel so good after a few stressful days, too much computing and too less sleep hours - it's 01:40 AM right now, so yeah, tomorrow will be another of “those” days, I guess.